Home made conductive ink
I have a need to obtain some conductive ink for my experiments and project development, so i decide to make one.
There is plenty information online how to do that but still ![]()
Materials:
- Soft pencil.
- 0,5 Coca Cola plastic bottle.
- Small quantity of paper paint, something like this
Tools:
- Dremel with fine sanding head. something like this
- Duck tape
- fine brush
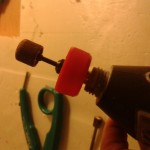
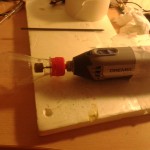
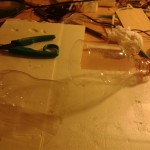
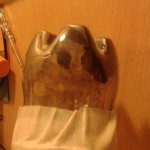
Mostly i was worried not to stain my room. So i had to make enclosed container to make fine graphite dust. I have sanded graphite like this. Images are self explanatory:
- Cut hole in the bottle cap.
- Attache Dremel tool to it.
- Cut the bottle in half to clean it dry and later to empty contents.
- Duck tape all together
- Remove graphite from the pencil using knife.
- Tape contraption in place
- Make a hole in the bottle so that graphite rod touches grinding bit.
- Ground graphite to fine powder.
After container is made and graphite grounded pure paper paint and powder to small container and mix very well. I say something 1:1 graphite/paint although 2:1 could do better but thinner paint. Use this mixture to paint fine tracks.
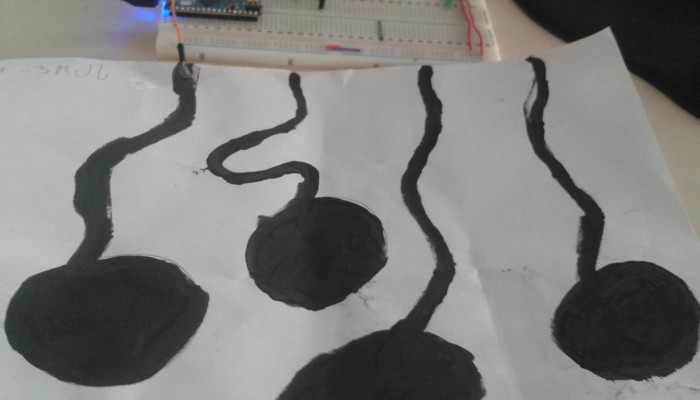
I succeeded achieving 700 kΩ per 10 cm then track is 2mm thick. It is not good for lighting LED’s as resistance is to large but it does work for capacitive touch applications.
I have made simple test:
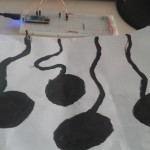
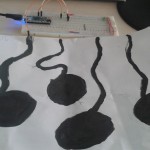
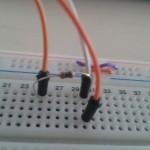
Connected Arduino micro development board to drawing i have made with ink and made simple keyboard like thing. (only one pin connected for testing). The one of black blobs are touched it sends “a” as it was keyboard. I have used it to play note on the online piano:
http://www.bgfl.org/bgfl/custom/resources_ftp/client_ftp/ks2/music/piano/steel_drums.htm
Detailed instructions how to set up Arduino and bredboard can be found hare:
http://playground.arduino.cc/Main/CapacitiveSensor?from=Main.CapSense
I have updated code so that it sends letter “a” as e keyboard (Arduino Micro and Leonardo can simulate USB keyboard and mouse.)
I have not changed code much ![]() (you have to download Arduino library as mentioned in the link before.)
(you have to download Arduino library as mentioned in the link before.)
#include <CapacitiveSensor.h>
/*
* CapitiveSense Library Demo Sketch
* Paul Badger 2008
* Uses a high value resistor e.g. 10M between send pin and receive pin
* Resistor effects sensitivity, experiment with values, 50K – 50M. Larger resistor values yield larger sensor values.
* Receive pin is the sensor pin – try different amounts of foil/metal on this pin
*/
CapacitiveSensor cs_4_2 = CapacitiveSensor(4,2); // 10M resistor between pins 4 & 2, pin 2 is sensor pin, add a wire and or foil if desiredvoid setup()
{
cs_4_2.set_CS_AutocaL_Millis(0xFFFFFFFF); // turn off autocalibrate on channel 1 – just as an example
Serial.begin(9600);
Keyboard.begin();
}void loop()
{
long start = millis();
long total1 = cs_4_2.capacitiveSensor(30);Serial.print(millis() – start); // check on performance in milliseconds
Serial.print(“\t”); // tab character for debug windown spacingSerial.println(total1); // print sensor output 1
if (total1 > 300){
Keyboard.print(“a”); aaa}
delay(10); // arbitrary delay to limit data to serial port
}


